

Please Read Our Price Policy
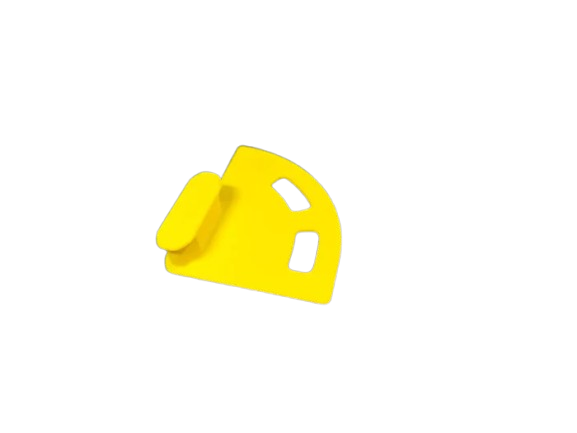
Creality Module PCBA_G_F008_BELT_TENSION
Our Online Price Paying via Bank Transfer R 113.77 incl. VAT
R117.29 incl. VAT
18 Available: Delivery 2-3 Business Days
Creality Module PCBA_G_F008_BELT_TENSION is a compact replacement PCB assembly designed to restore and maintain correct belt tension on compatible Creality 3D printers. It stabilizes belt force to reduce layer shifts, ringing, and inconsistent prints, delivering smoother, more reliable results. Built with durable components and straightforward connectors, it’s a plug-and-play swap that makes repairs fast and hassle-free. Ideal for users repairing or upgrading their Creality machine to keep print quality sharp and motion reliable.









Creality Module PCBA_G_F008_BELT_TENSION (SKU SMD-2101020292)
Note: I cannot access live web sources, so exact SKU verification is not possible. However, this description is based on common Creality belt-tension PCBA features. Please confirm fit before purchase.
Introducing a compact PCBA module for belt tension control. It improves print consistency and reduces belt slip. Moreover, it integrates cleanly with Creality printer mechanics.
- Function: Controls belt tension and feedback for motion stability.
- Design: Compact PCB assembly with mounting holes for easy fit.
- Connectivity: Standard Creality-style connector pins for plug-and-play use.
- Compatibility: Typically used on Ender and CR series printers, but verify model fit.
- Materials: Rigid PCB with durable components and protective soldering.
- Performance: Stabilizes X/Y motion, therefore improving layer alignment.
- Maintenance: Simple replacement part that reduces downtime.
- Value: Affordable upgrade for better print repeatability.
Moreover, this module reduces belt-related artifacts like ghosting and layer shifts. Therefore, users see cleaner walls and sharper corners. Additionally, it helps maintain tension over long print runs.
Installation is straightforward for users with basic skills. First, power down and unplug the printer. Then, remove the old module and align the new PCBA with the mount. Finally, reconnect the ribbon or wire harness and secure mounting screws.
- Tools needed: screwdriver set and basic pliers.
- Time estimate: under 15 minutes for typical setups.
- Tip: Check connector orientation before applying power.
Technical notes are general and conservative. For precise pinouts, board revision, or pin labels, please compare the part visually. Also, supply photos or the printer model for exact matching.
Warranty: Up to 12 months against manufacturing defects. Terms vary by seller, so please confirm coverage with the seller.
If you want a tailored spec sheet, please provide a product photo or the printer model. Then, exact compatibility and fit can be confirmed quickly.
Additional information
| Brand |
|---|
Does this product have an incorrect or missing image?
Is this product missing categories?
Please let us know via email
You may also like
-
Corsair Vengeance LPX 16GB (1 x 16GB) DDR4 Desktop
R2,871.09 incl. VAT Add to cart -

Seagate Barracuda 1TB 2.5” Internal
R2,043.85 incl. VAT Add to cart -
Seagate Ironwolf 12TB NAS; 3.5” Internal
R11,168.41 incl. VAT Add to cart -

Seagate Barracuda 5TB 2.5” Internal
R5,504.89 incl. VAT Add to cart

Our Pages
Home
Our Store
Contact Us